DIY Guide: Installing Your Own Craftsman Front Door
DIY Guide: Installing Your Own Craftsman Front Door
Blog Article
Installing a new Craftsman front door can transform the curb appeal of your home while also providing increased security and energy efficiency. This DIY guide will walk you through the entire process, from selecting the right door to the final installation touches, ensuring you can confidently undertake this home improvement project.
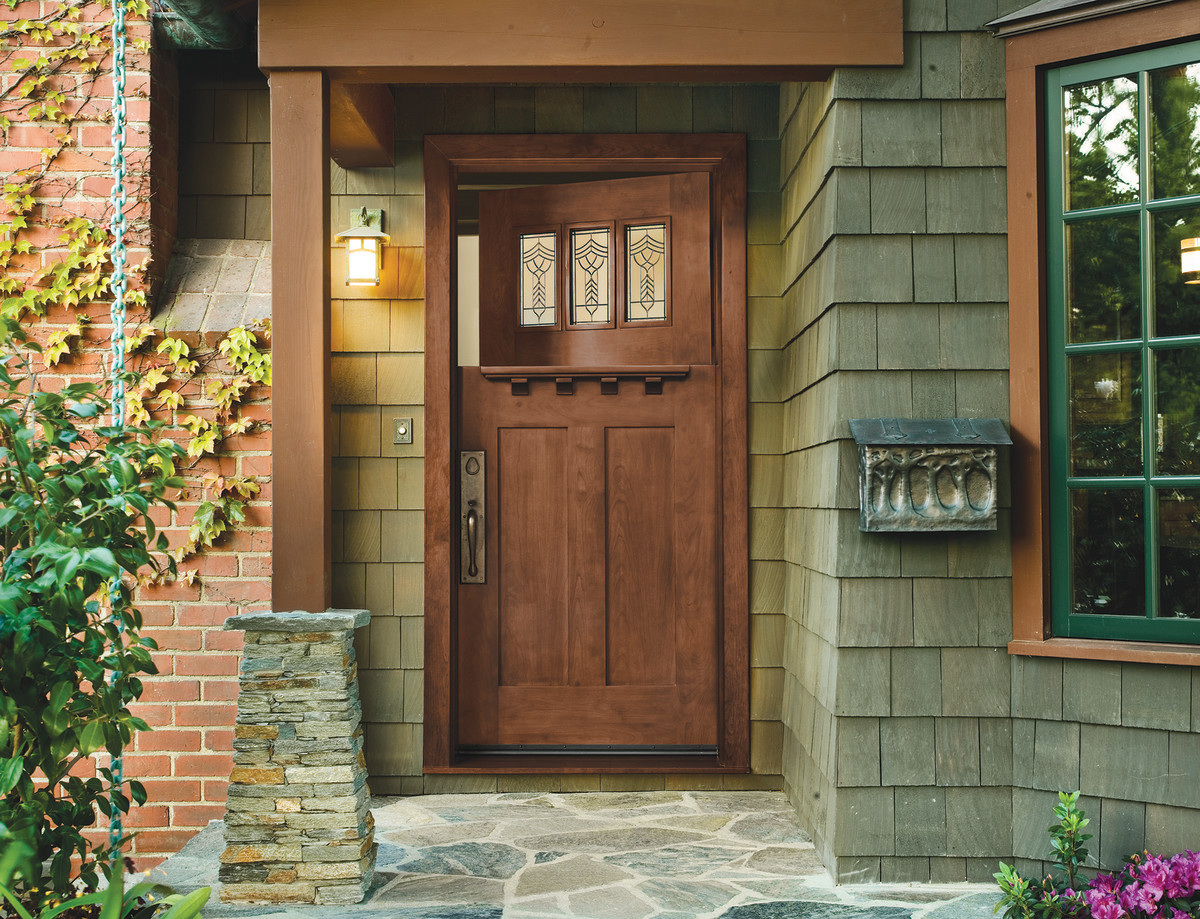
Choosing the right Craftsman front door is the first step. Craftsman doors are known for their quality and distinctive style, characterized by clean lines, decorative glass, and sturdy construction. When selecting your door, consider the architectural style of your home to ensure a cohesive look. Additionally, think about the material of the door. Wood offers a classic and natural appearance, though it requires regular maintenance. Fiberglass and steel doors, on the other hand, provide durability and lower maintenance while still offering aesthetic appeal.
Once you have selected your Craftsman door, gather the necessary tools and materials for the installation. You will need a tape measure, level, screwdriver, drill, hammer, chisel, utility knife, saw, shims, caulk, a caulking gun, and the new door with its frame. Ensure you also have safety equipment such as gloves and safety glasses. Before removing the old door, measure its dimensions carefully, including the width, height, and depth of the door frame. These measurements will help you ensure that the new door fits perfectly.
Begin the installation by removing the old door. Start by taking off the door itself by unscrewing the hinges. Next, remove the door frame. Use a utility knife to cut through any caulking or paint sealing the frame to the wall. Then, use a pry bar to carefully remove the frame from the rough opening. Be cautious during this step to avoid damaging the surrounding wall or trim. Once the old door and frame are removed, clean the rough opening thoroughly, removing any debris, nails, or screws.
With the rough opening prepared, you can now install the new door frame. Start by placing the bottom of the frame in the opening, ensuring it is level. Use shims to adjust the frame so that it is plumb (vertically straight) and square (corners at 90-degree angles). Check the alignment using a level and adjust as necessary. Once the frame is properly positioned, secure it in place by screwing it into the studs of the rough opening. Ensure the screws are driven in tightly to hold the frame securely.
Next, install the door. Position the door within the frame, making sure it is aligned with the hinges. Attach the hinges to the door and frame, starting with the top hinge. It can be helpful to have a second person hold the door in place while you secure the hinges. Once the door is hanging on its hinges, test it by opening and closing it to ensure it operates smoothly without binding or sticking. If necessary, adjust the hinges or add additional shims to correct any alignment issues.
With the door in place, it’s time to focus on sealing and insulating the installation. Apply a bead of caulk around the exterior edges of the door frame where it meets the wall to prevent water and air infiltration. Inside, use expanding foam insulation to fill any gaps between the door frame and the rough opening. This will enhance the energy efficiency of your home by reducing drafts. After the foam has cured, trim any excess with a utility knife.
The next step involves installing the lockset and door hardware. Most Craftsman doors come pre-drilled for a standard lockset, but you may need to make additional adjustments or cuts depending on your chosen hardware. Follow the manufacturer’s instructions to install the lockset, deadbolt, and handle. Ensure that all components are properly aligned and functioning correctly. Test the lock to make sure it operates smoothly and securely.
Once the hardware is installed, it’s time to focus on the finishing touches. If your Craftsman door is made of wood, you may want to paint or stain it to match your home’s exterior. If you choose to paint, use a high-quality exterior paint to protect the wood from the elements. If staining, apply a protective sealant after staining to safeguard the door against moisture and UV damage. For fiberglass or steel doors, choose a paint specifically formulated for those materials.
After painting or staining, reinstall any trim or molding around the door frame. This not only enhances the appearance but also helps to further seal the door against drafts. Caulk around the edges of the trim to create a seamless finish. Finally, clean the door and surrounding area to remove any dust or debris from the installation process.
Regular maintenance of your Craftsman front door will ensure it remains functional and attractive for years to come. For wood doors, inspect the finish annually and reapply paint or stain as needed to protect against weathering. For fiberglass and steel doors, simply clean the surface with mild soap and water to keep it looking fresh. Additionally, periodically check the door’s weather stripping and replace it if it shows signs of wear to maintain a good seal.
Installing your own Craftsman front door can be a rewarding DIY project that significantly enhances your home’s curb appeal and functionality. By following these detailed steps and taking the time to ensure each part of the process is done correctly, you can achieve professional results without the need for professional installation services. Remember to prioritize safety throughout the project, use quality materials, and take your time to achieve the best possible outcome. Your new Craftsman front door will not only beautify your home but also provide lasting durability and security.
General FAQs:
What tools and materials do I need to install a Craftsman front door?
Installing a Craftsman front door requires a variety of tools and materials to ensure a successful project. Essential tools include a tape measure, level, screwdriver, drill, hammer, chisel, utility knife, saw, shims, caulk, and a caulking gun. You'll also need safety equipment such as gloves and safety glasses. Additionally, you will need the new door with its frame, expanding foam insulation, paint or stain (if applicable), and trim or molding for finishing touches. Having all these items ready before you start will help streamline the installation process.
How do I measure the rough opening for my new door?
Accurate measurements of the rough opening are crucial for ensuring that your new door fits perfectly. Begin by measuring the width of the opening at the top, middle, and bottom, recording the smallest measurement. Then measure the height from the floor to the top of the opening on both sides and in the center, again using the smallest measurement. Additionally, measure the depth of the opening from the interior to the exterior surfaces. These measurements will guide you in selecting a door and frame that fit properly and help avoid any complications during installation.
What steps should I follow to remove the old door and frame?
To remove the old door and frame, start by unscrewing the hinges and taking off the door. Next, use a utility knife to cut through any caulking or paint sealing the frame to the wall. Carefully use a pry bar to remove the frame from the rough opening, taking care not to damage the surrounding wall or trim. Once the frame is removed, clean the rough opening thoroughly by removing any debris, nails, or screws. This preparation is essential to ensure a smooth installation of the new door frame.
How do I ensure the new door frame is properly aligned and secured?
Proper alignment and securing of the new door frame are critical to the functionality and appearance of your Craftsman front door. Start by placing the bottom of the frame in the opening and use shims to adjust it so that it is level and plumb. Check the alignment using a level and make any necessary adjustments. Once the frame is correctly positioned, secure it to the studs of the rough opening with screws, ensuring they are driven in tightly to hold the frame securely. This careful alignment will help the door operate smoothly and ensure a good seal against drafts and weather.
What are the finishing steps after installing the door and hardware?
After installing the door and hardware, focus on sealing and insulating to enhance energy efficiency and appearance. Apply a bead of caulk around the exterior edges of the door frame to prevent water and air infiltration. Inside, use expanding foam insulation to fill any gaps between the frame and the rough opening. Once the foam has cured, trim any excess. If your door is made of wood, consider painting or staining it to match your home’s exterior, and apply a protective sealant. Finally, reinstall any trim or molding around the frame and caulk around the edges for a seamless finish. Regular maintenance will keep your door looking great and functioning well for years to come.